Let's talk about how to apply nail wraps from Nails Mailed! Nails Mailed offers the biggest selection of the best quality nail wraps. We are passionate about saving you time and money. Proper application will help you get the most out of your purchase!
Step 1: Be sure your nails are clean and free of any dirt or debris.
- Give your hands a good wash with soap and water.
- Dry hands and cuticles well (it helps to remove cuticles by pushing them down or, try our cuticle remover).
- Remove unseen debris and oil with rubbing alcohol, using an alcohol wipe or cotton swab.
⭐️ If you are having trouble getting your nail wraps to stick, you may have extra moist (or oily) nails. In this case a base strengthener is a good option for you.

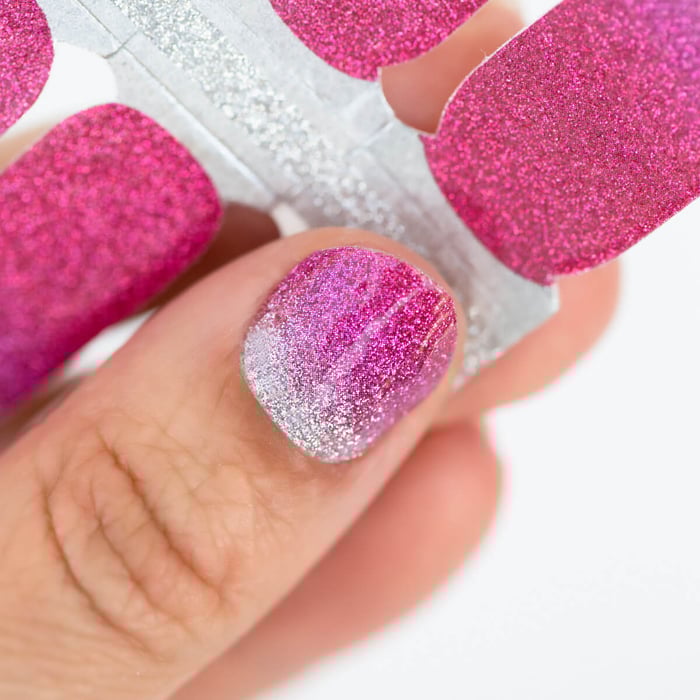
Step 2: Once your nails are clean, you need to find the right size wrap for your nail. Finding the right size is key to your wraps staying on as long as 10-14 days. Our classic wraps come with 16 strips, for different nail sizes. Here are some tips to help you find the right size.
- Measure each wrap against your nail before peeling it from the set (be sure to consider the curve of your nail).
- Our wraps are designed to handle a gentle stretch! If there is not a wrap large enough for your nail, simply stretch it to fit your nail size.
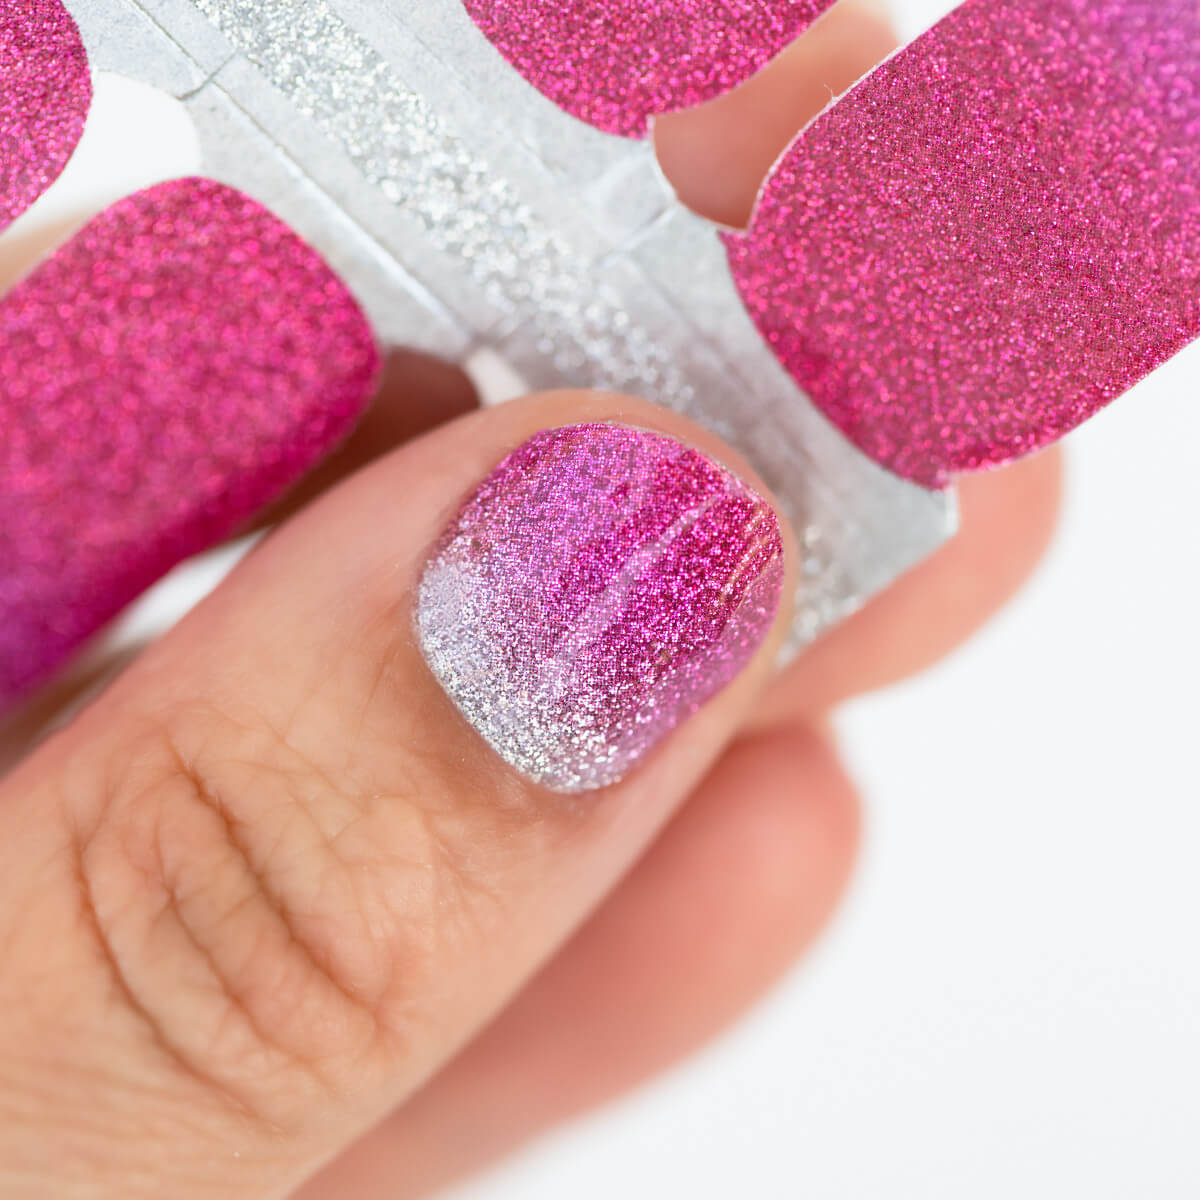
Step 3: Peel the nail wrap off the set, remembering to also peel the clear plastic layer from the top.
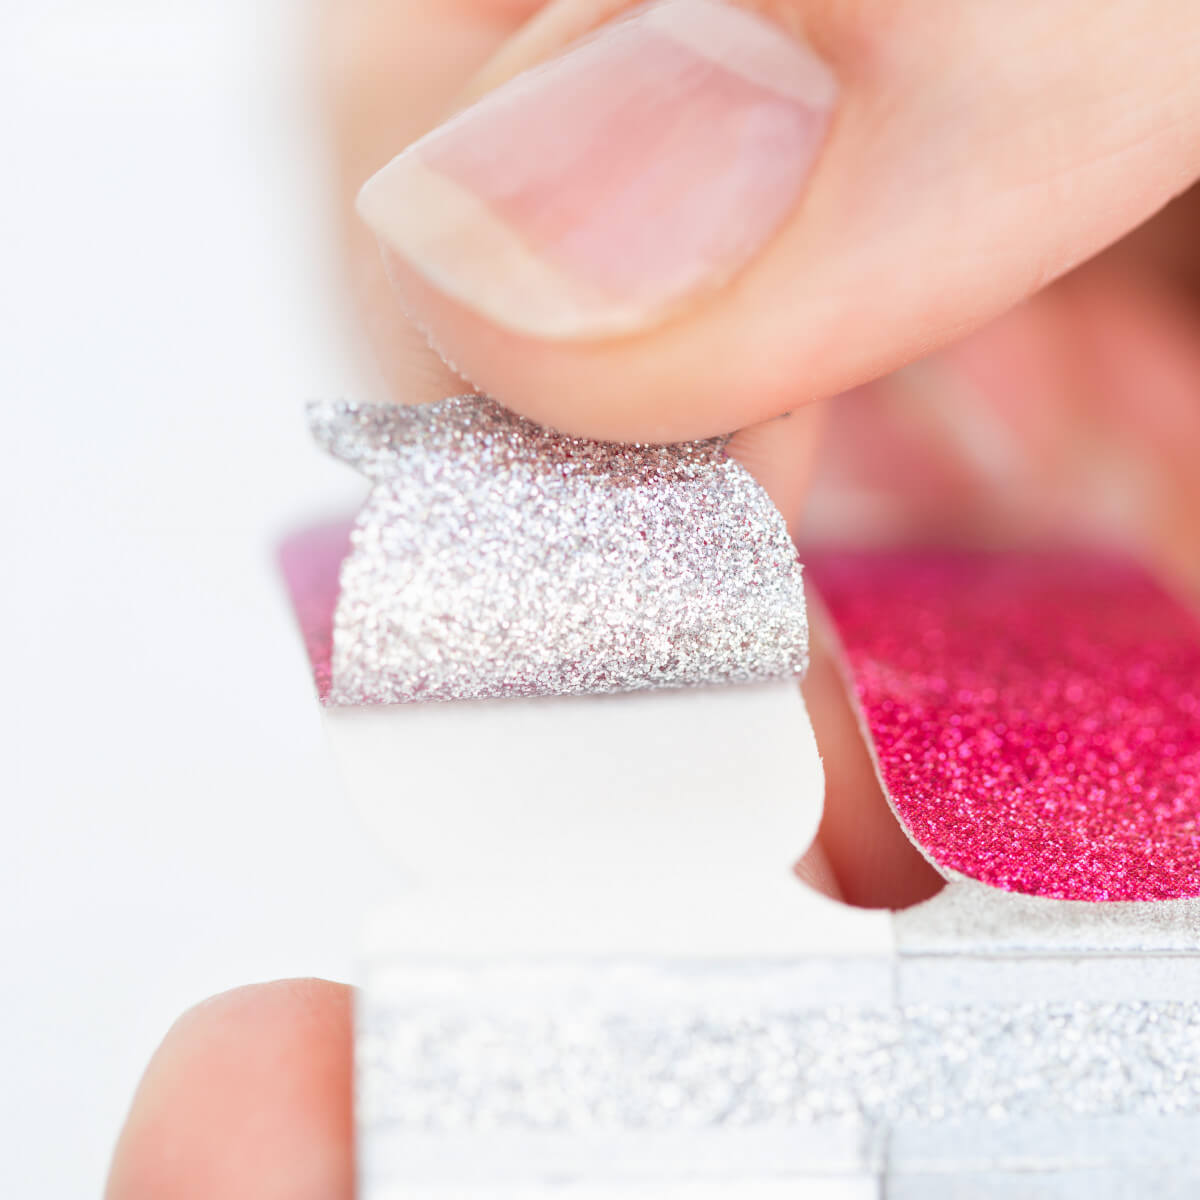
Step 4: Firmly press wrap onto your nail, just above the cuticle. Avoid placing the wrap on any skin (including cuticles). Placing nail wraps on skin will cause them to peel up easily.

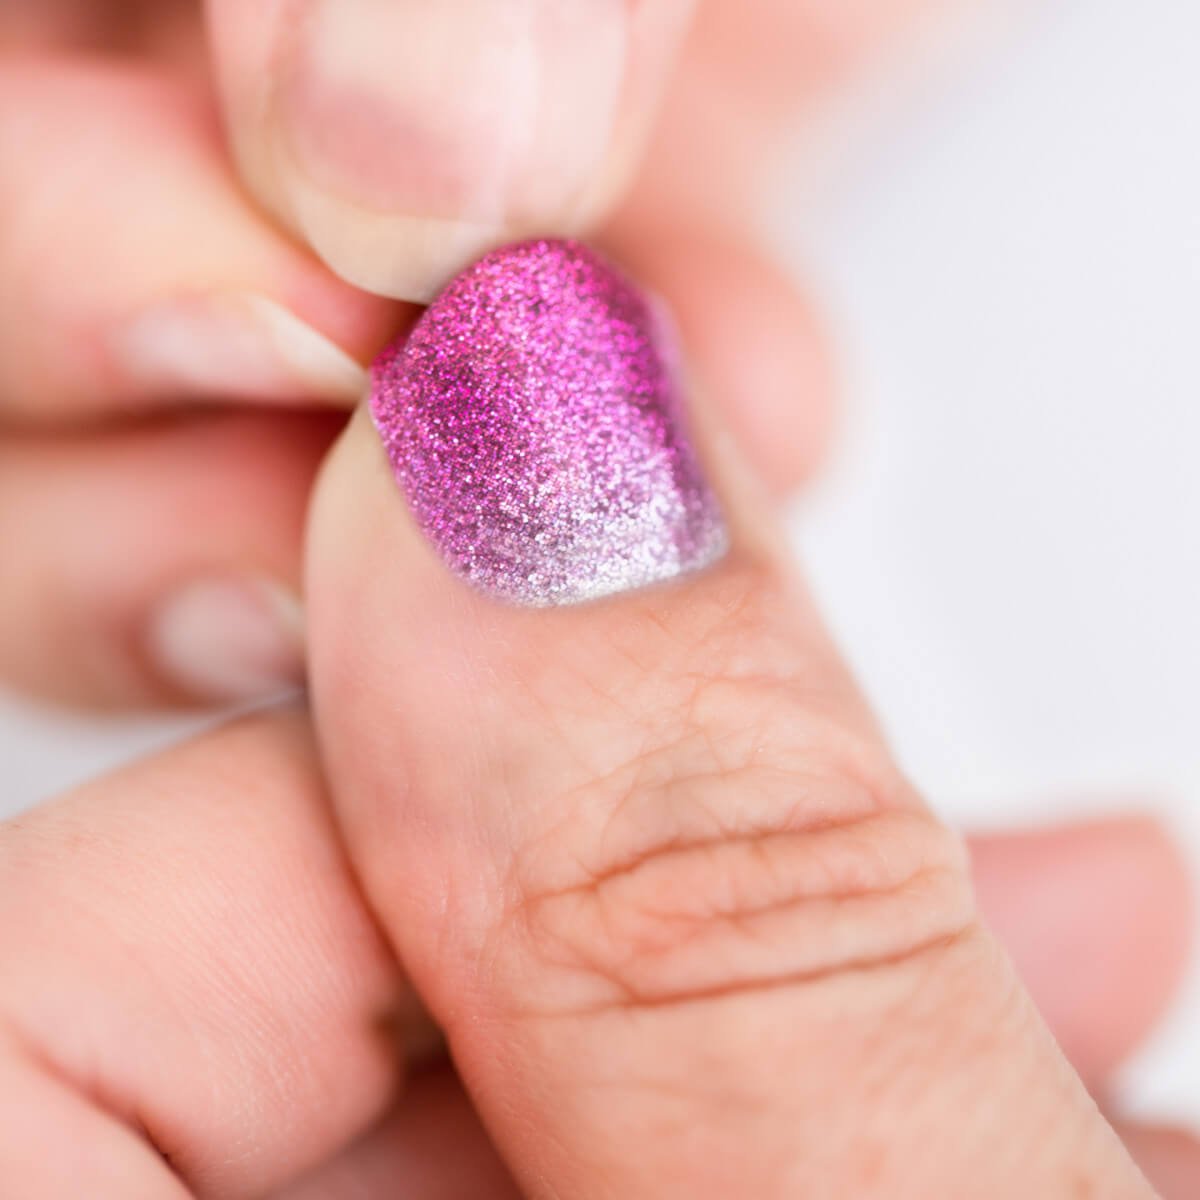
Step 5: Smooth out bubbles and imperfections gently with thumbnail or a wooden cuticle pusher.
- This step is important to getting a secure and uniform seal.

Step 6: Fold excess wrap over the tip of your nail. ⭐️PRO TIP⭐️ Let wraps sit for a few minutes to get a stronger seal!
- Some in our community like to save the unused half of their wraps! If you would like to do this too, use makeup scissors to cut the excess wrap before filing your nail.
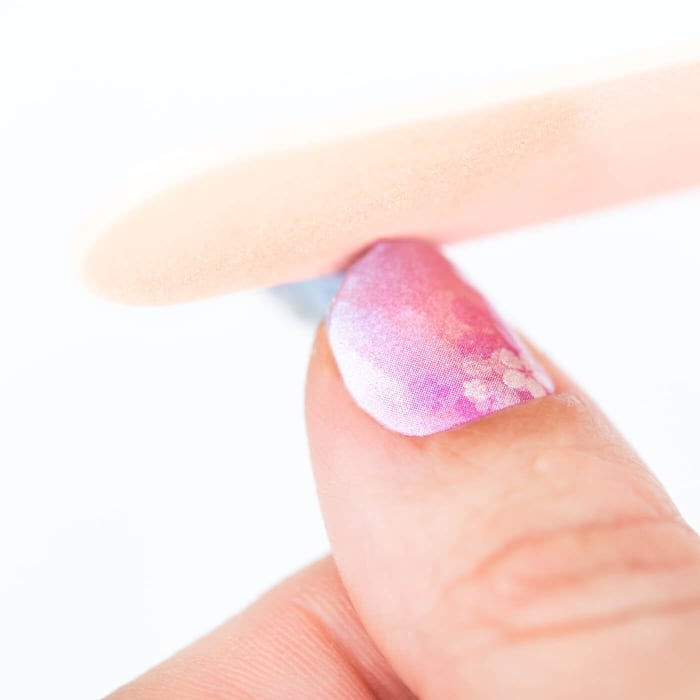
Step 7: File off excess wrap.

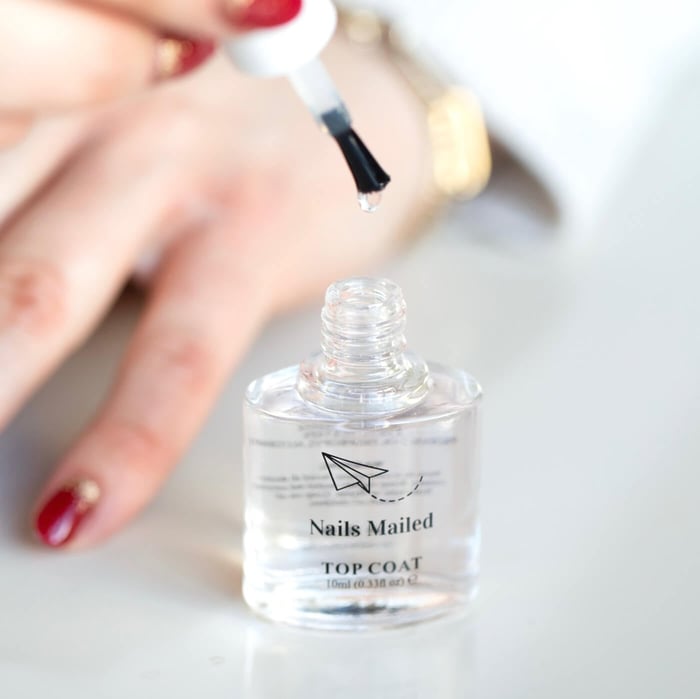
Step 8: Top with a clear top coat for added protection and shine.
- For maximum results, reapply topcoat every few days!

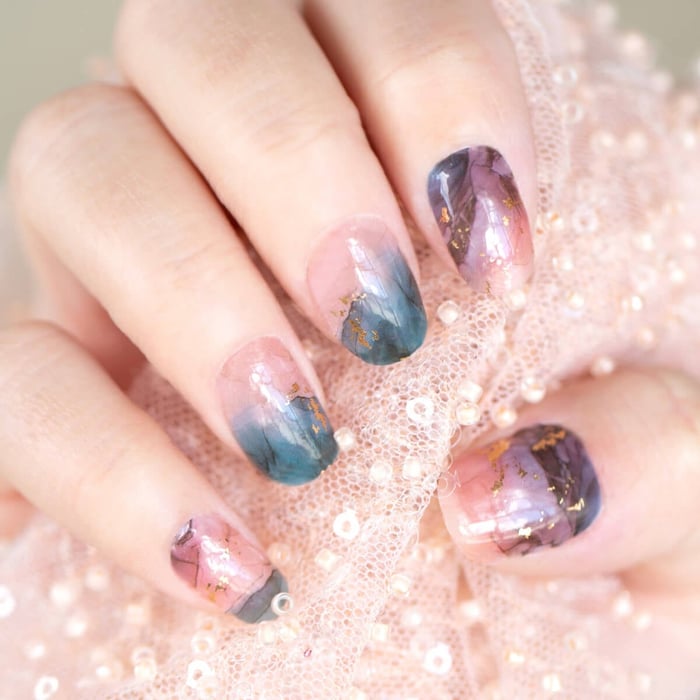
Enjoy being your own manicurist with a beautiful set of nails!