Gel nails have taken the beauty world by storm. We’ve all been there—sitting in a salon chair while a nail technician diligently applies gel polish layer by layer, then curing it under a UV light. The results are spectacular, but the price and time commitment? Not so much. That’s where Nails Mailed comes in. With our innovative Gel Nail Wraps, you can achieve salon-quality gel nails at home at a fraction of the cost. Plus, with our Nail Perks Program, you can rack up even more savings. Intrigued? Read on.
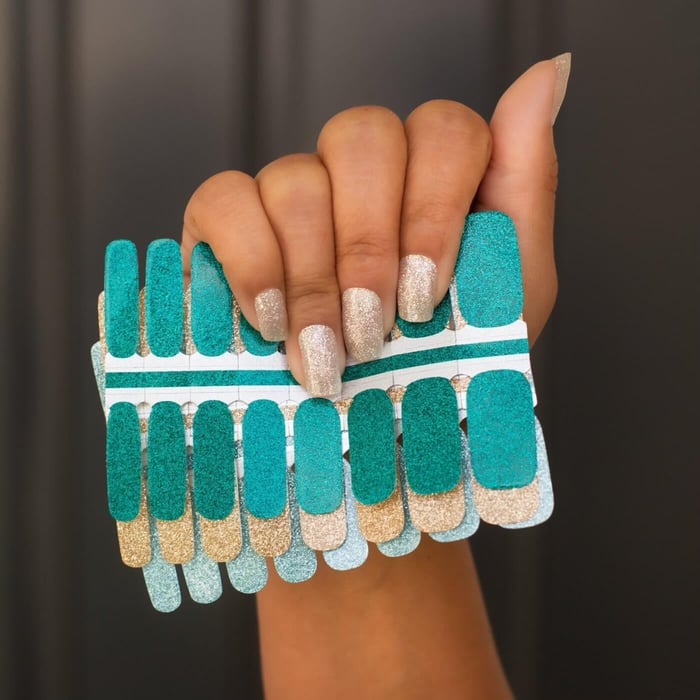
 (Pictured: Delicate)
Why Gel Nails Are the Gold Standard
Gel nails are a must-have for many, offering a shine and durability that’s unrivaled. Here’s what makes them stand out:
-
Longevity: Unlike regular polish, gel nails can last up to two weeks without chipping.
-
Glossy Finish: The high-shine finish of gel nails is another major attraction.
- Quick Drying: Once cured under a UV or LED lamp, gel nails are completely dry.
The Problem with Salon Gel Nails
While gel nails are amazing, getting them at a salon has some drawbacks:
- Cost: A salon gel manicure can set you back anywhere from $30 to $90, not including tips.
- Time: A single salon visit can take up to two hours of your precious time.
- Limited Designs: Salons often have limited gel nail designs, unless you go to a high-end boutique.
Enter Nails Mailed Gel Nail Wraps
Our Gel Nail Wraps are the perfect solution. They bring salon-quality gel nails to the comfort of your home. Here's why you should make the switch:
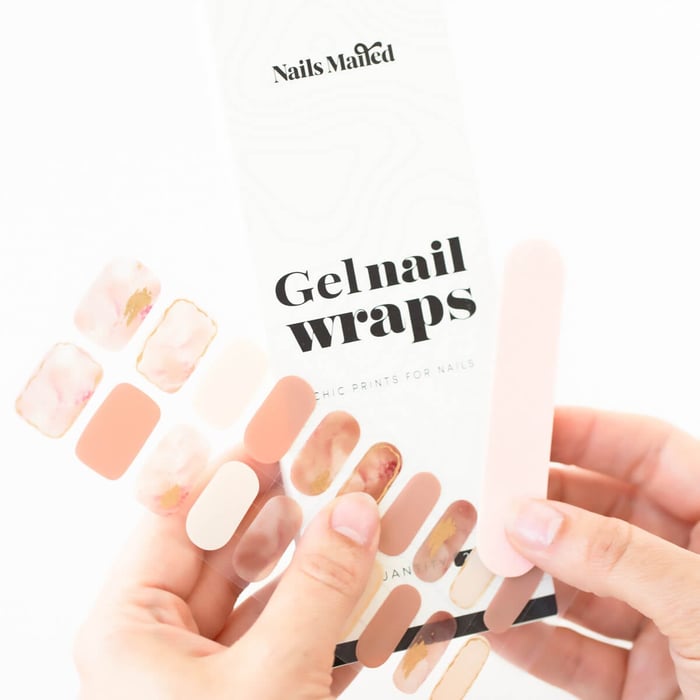
 (Pictured: Little Black Dress)
Abundant Gel Nail Designs
With Nails Mailed, you have access to a plethora of exclusive gel nail designs. From sophisticated geometric patterns to elegant florals, there’s a design for every mood and occasion.

Easy Application
Applying our Gel Nail Wraps is a breeze. In less than 10 minutes, you can have a fresh set of gel nails at home without the fuss of traditional methods.
No UV Light Required—But LED Nail Lamp Recommended
While our FlexiGel Nail Wraps don’t require curing under a UV light, we recommend using our affordable LED lamp ($7.99) for a perfect finish with both FlexiGel and Gel nail wraps. This helps seal the wrap, ensuring your nails look fantastic for longer.
The Perks of Being a Nail Enthusiast
Saving money is always a plus, and that’s where our Nail Perks Program shines. Here’s a breakdown of how you can earn points:
- Initial Sign-Up: Earn an immediate 100 points when you register.
- Spend to Earn: Gain 10 points for every dollar spent on our products.
- Share and Earn: Review your purchases and snag 10 points. Add a photo or video showcasing your gel nail designs for an extra 10 points.
- Birthday Bonus: Get 200 points on your special day.
- Social Connection: Earn points through social media interactions. 50 points for liking our Facebook page and 100 for an Instagram follow.
By taking advantage of these, you can save even more, making your gel nails practically a steal! Join nail perks HERE.
 (Pictured: Lilac)
The How-To: A Step-by-Step Guide
Not sure how to apply our Gel Nail Wraps? Don't worry; it's a piece of cake:
- Preparation: Clean your nails with an alcohol wipe or non-acetone nail polish remover.
- Application: Select the appropriate size for each nail and carefully place the Gel Nail Wrap.
- Press and Smooth: Press the wrap onto your nail, starting from the cuticle and moving toward the tip.
- Trim and File: Cut off the excess wrap and file it down to fit your nail perfectly.
- Optional Curing: For enhanced durability, cure the wraps with our LED lamp.
For a full tutorial, with photos of each step, click HERE.
Pro Tips for Perfect Gel Nails
- Proper Storage: Keep your Gel Nail Wraps in a cool, dry place to prolong their shelf life.
- Application Technique: Apply with a bit of stretch to avoid wrinkles or air bubbles.
- Seal the Edges: After applying, make sure to seal the edges of the wrap for longer-lasting wear.
 (Pictured: On The Town)
Another Gel Manicure Option: Classic Wraps Meet Gel Top Coat
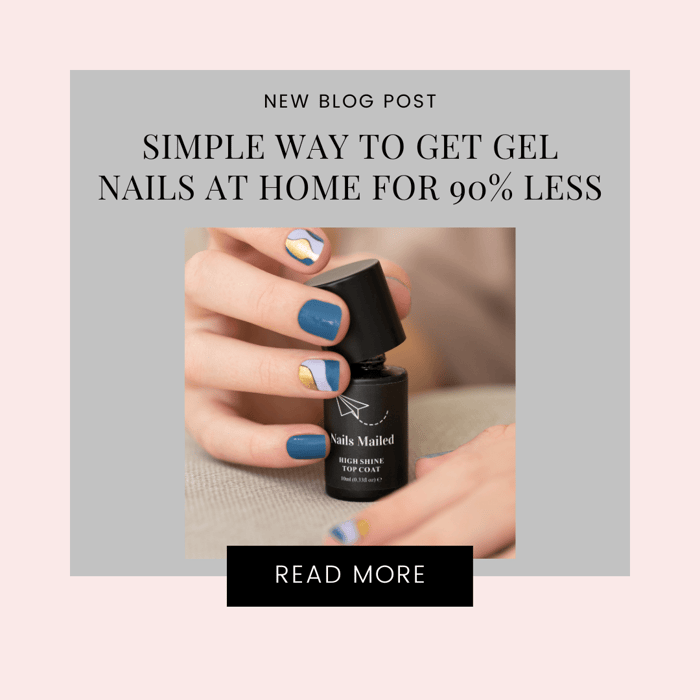
Looking for gel nails at home but in love with one of our Classic Nail Wrap designs? No worries, we’ve got you covered! Simply apply your chosen Classic Nail Wraps as you normally would and then take it up a notch by adding our specialized Gel Top Coat. Priced at just $12.99, this top coat adds that coveted gel-like shine and durability to your Classic Wraps. All you need to do is apply an even layer over your wraps and cure it with our LED lamp for a finish that rivals any salon gel manicure. Not only does it give your nails that high-gloss look, but it also provides an extra layer of protection to make your manicure last even longer. It’s a fabulous way to get the best of both worlds—classic designs with gel endurance!

Salon-quality gel nails at home are no longer a dream but a reality. Our Gel Nail Wraps offer a quick, affordable alternative to salon visits, and our Nail Perks Program makes it even more budget-friendly. So go ahead and embrace the world of gel nail designs without breaking the bank or compromising on quality. With Nails Mailed, you truly can have it all.