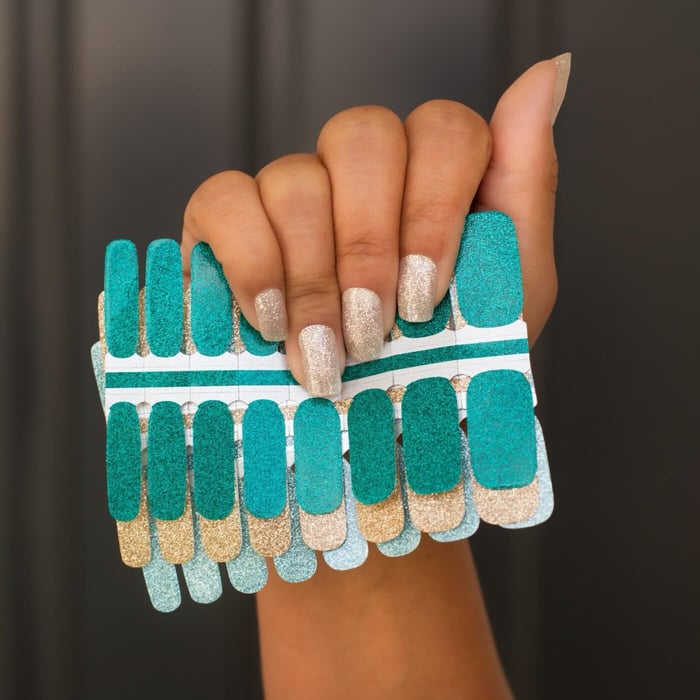
Creating cute nails for kids is a fun and creative way to spend time with your children while also teaching them about self-care and personal hygiene. While traditional nail polish can be messy and difficult to apply, nail wraps are a great alternative for kids' nails. Nail wraps are easy to apply, long-lasting, and come in a variety of fun designs that are perfect for kids of all ages.
If you are looking for nails for 12 year old children, or younger, nail wraps are a great option. Fake nails for kids are often made of harmful chemicals and can cause damage to natural nails. Nail wraps are a safe and non-toxic alternative that can be easily removed without damaging their nails. They are also easy to apply and can be done at home, making them a fun activity for parents and children to do together!
Here are some tips on using nail wraps to create a kid-friendly manicure, along with some of our favorite styles for your little one!
1. Choose a fun design
One of the best things about nail wraps is the wide-variety of designs available. Whether your child loves unicorns, rainbows, or their favorite characters, there is a nail wrap for every taste. You can let your child choose their favorite design, or choose one together! It's a great way to bond and encourage their creativity.
Here are some of our favorites, to get you started! Click here to shop these, and other adorable designs!
Llamas is a perfect set for kids who love animals! Its cute design and fun pastel color palette will make their nails look fun and playful. Your child won't be able to wait to show them off to all their friends!
 Super Sweet is a bright design with bold colors and lots of personality. Your little one will love adoring their manicure for up to two weeks!

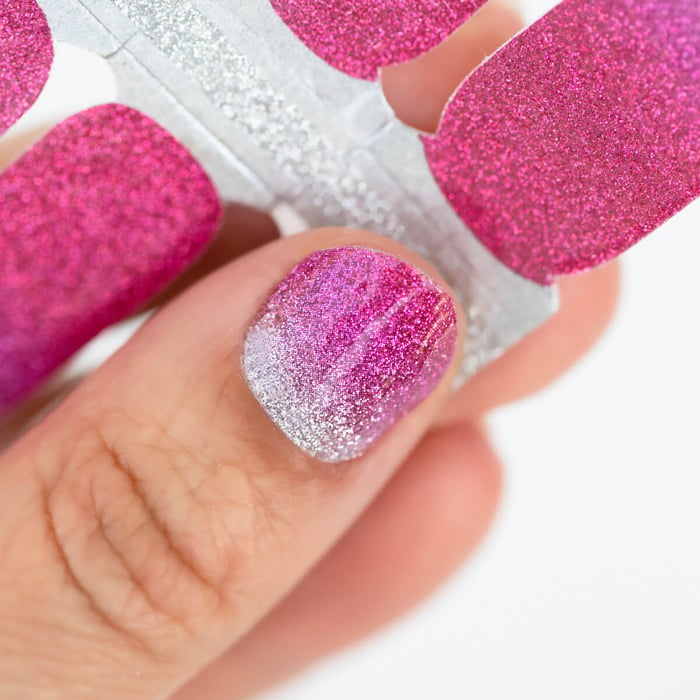
Lavender Sparkles takes all the mess out of flawless glitter nails! Help her sparkle with this adorable set of glitter nail wraps.

2. Prep the nails
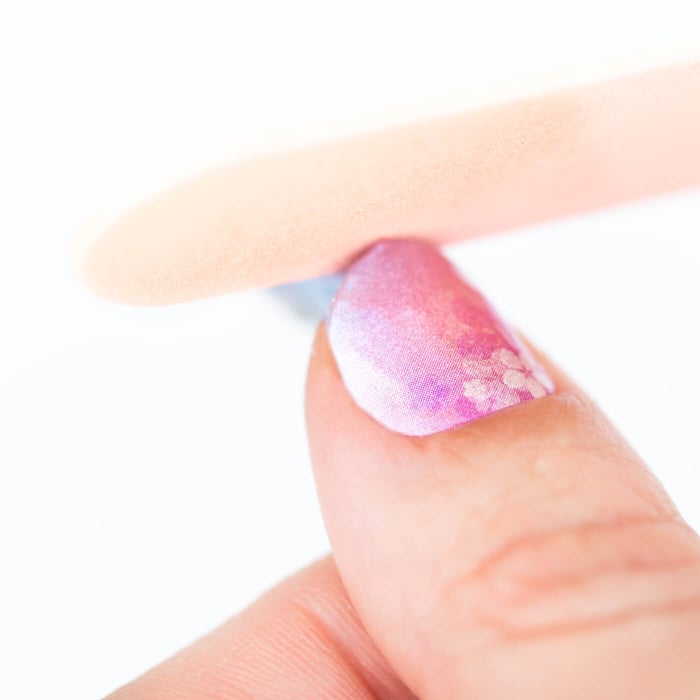
Now that you and your child have chosen the perfect set of wraps, it is time for application! Before applying the wraps, it is important to prep the nails. Start by washing your child's hands to remove any dirt or oils. Then, use a nail file to shape their nails and gently push back their cuticles. This will help the nail wraps adhere properly and last longer.
3. Apply the wraps
Applying nail wraps is easy and fun! Start by selecting the right size wrap for each nail. Place the wrap over the nail and gently press down, smoothing out any wrinkles or air bubbles. Use a nail file to remove any excess wrap and shape the edges to fit the nail perfectly. Repeat the process for each nail. If you need extra tips and tricks, read our more in-depth article here.
4. Finish with a top coat
To make the nail wraps last longer, finish with a top coat. You can use our clear top coat, or opt for a glitter top coat for added sparkle. The top coat helps to protect the nail wraps from chipping and peeling and will also give them a glossy finish.

Using nail wraps to create a kid-friendly manicure is a great way to encourage your child's creativity. Not only will your child love their fun and colorful nails, but they will also learn the importance of keeping their nails healthy!
In addition to being a fun activity to do at home, kid-friendly manicures can also be a great addition to birthday parties or sleepovers. You can set up a nail wrap station with a variety of designs for the kids to choose from. It's a great way to make your child's party memorable!
Using nail wraps is a safe and kid-friendly activity that you can enjoy with your child for years to come. With a wide variety of designs available, there is a nail wrap for every taste and occasion. So, grab some nail wraps, pick a fun design, and spend some quality time with your child creating cute nails for kids that they will love!
*For use on ages 3+


